Strawberry Shortcake (2003) Preschooler’s Costume

Yay!  I’m finally doing it!  I finished this costume over a month ago, and I’m finally posting it!  Trust me to procrastinate until the weekend before Halloween to post this.

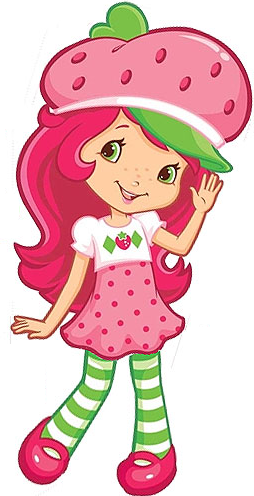
I was a big Strawberry Shortcake fan as a little kid, and back in my day (gosh, that makes me feel old), Strawberry Shortcake looked like this:

(link)

Now, she looks like this:

(link)

I don’t like the new one.  I think that she contains everything a girl is pressured to be and fuses those gender expectations into some kind of giggly, unattainable standard of “perfection” that we force onto little girls.  That might just be me overanalyzing it, but the 2003 Strawberry Shortcake is cuter anyway, and my sister likes her, so that’s what the costume is based off of.

IMG_8052

The first component of the costume is the hat.

IMG_7781

I modeled the shape after one of my sister’s hats, which looks like this:

IMG_7702

and I just traced the different sections onto pieces of cardstock for stencils.

IMG_7704 IMG_7703

The crown of the hat is divided into six sections, while the brim is divided into four sections.  You could probably make the brim out of just two, or even just one, but my felt sheets were too small.

After cutting out the stencils, cut the required number of pieces out of pink felt.

IMG_7707

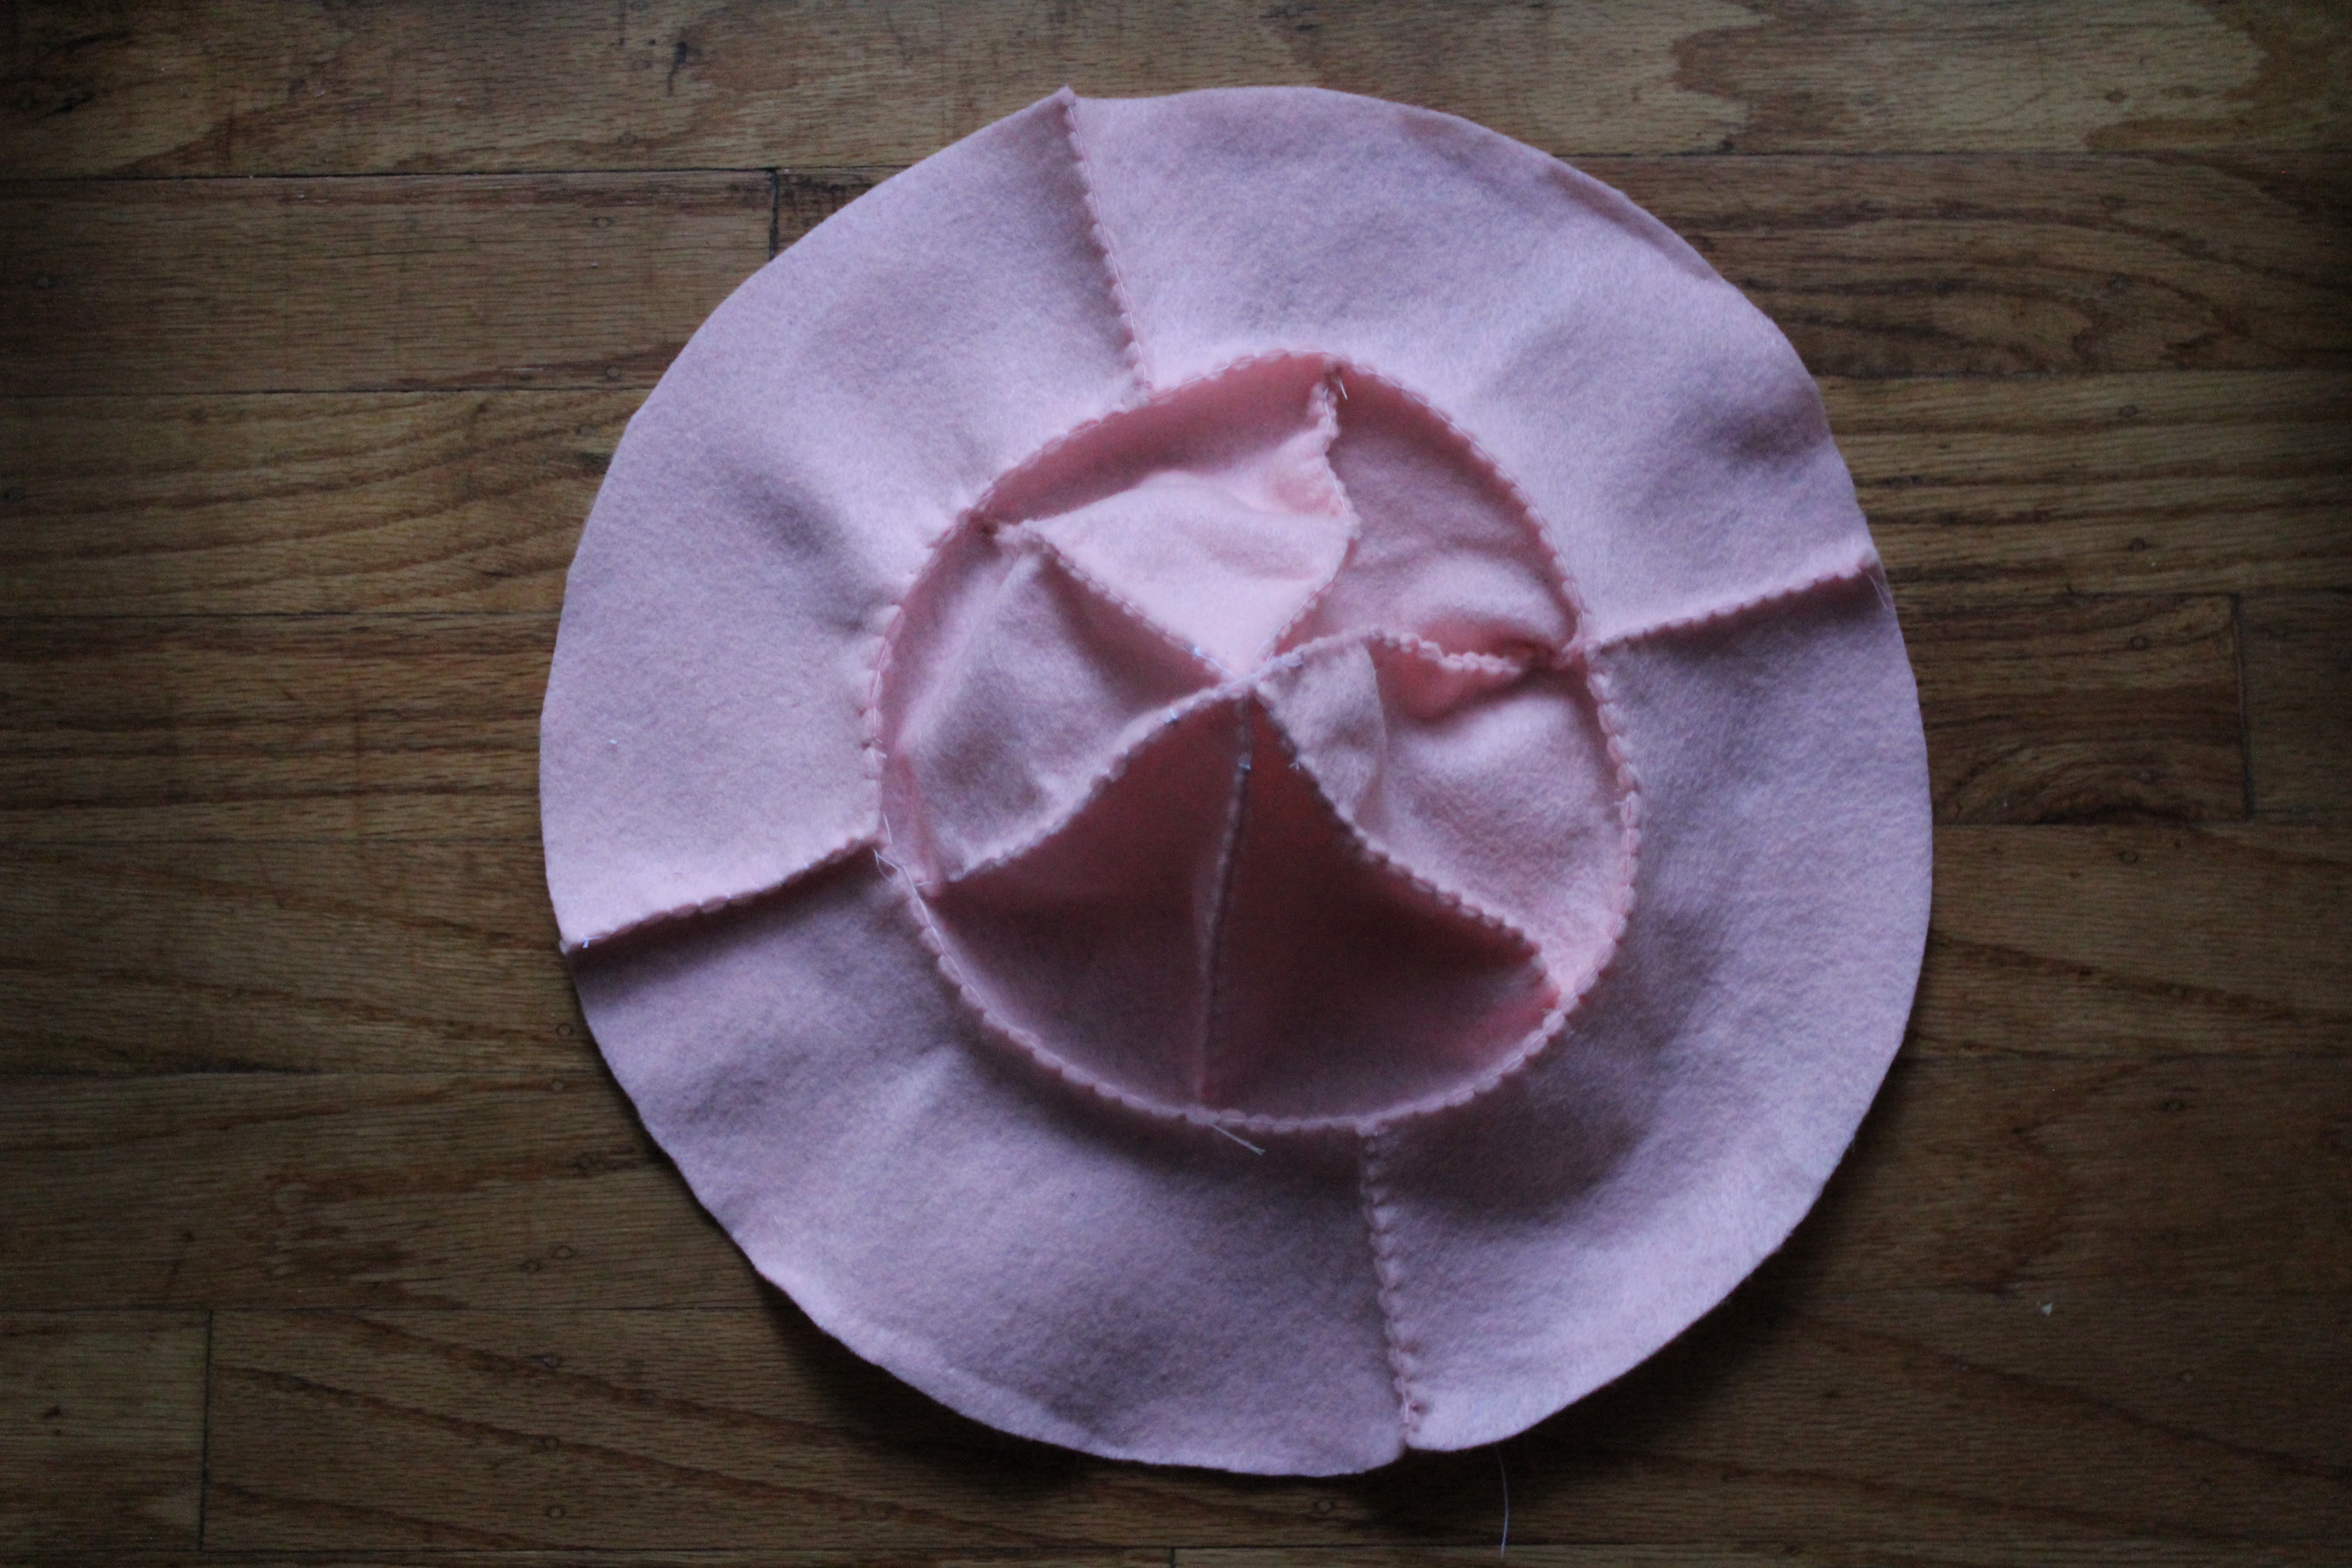
Sew the center six pieces together to make the crown by blanket stitching the sides together, like so:

IMG_7711 IMG_7712

until all six end up in a chain.

IMG_7715 IMG_7723

Sew the center parts together and flip the whole dome inside-out.

IMG_7725 IMG_7726 IMG_7727

After that, put the brim together, which pretty much just means blanket stitching the four pieces into a ring.

 IMG_7729 IMG_7730 IMG_7731 IMG_7732

Attach the brim to the crown by blanket stitching the outer edge of the crown to the inner circle of the brim, wrong sides together.

IMG_7733 IMG_7735 IMG_7736

Flip it inside out, and you now have a hat!

IMG_7738

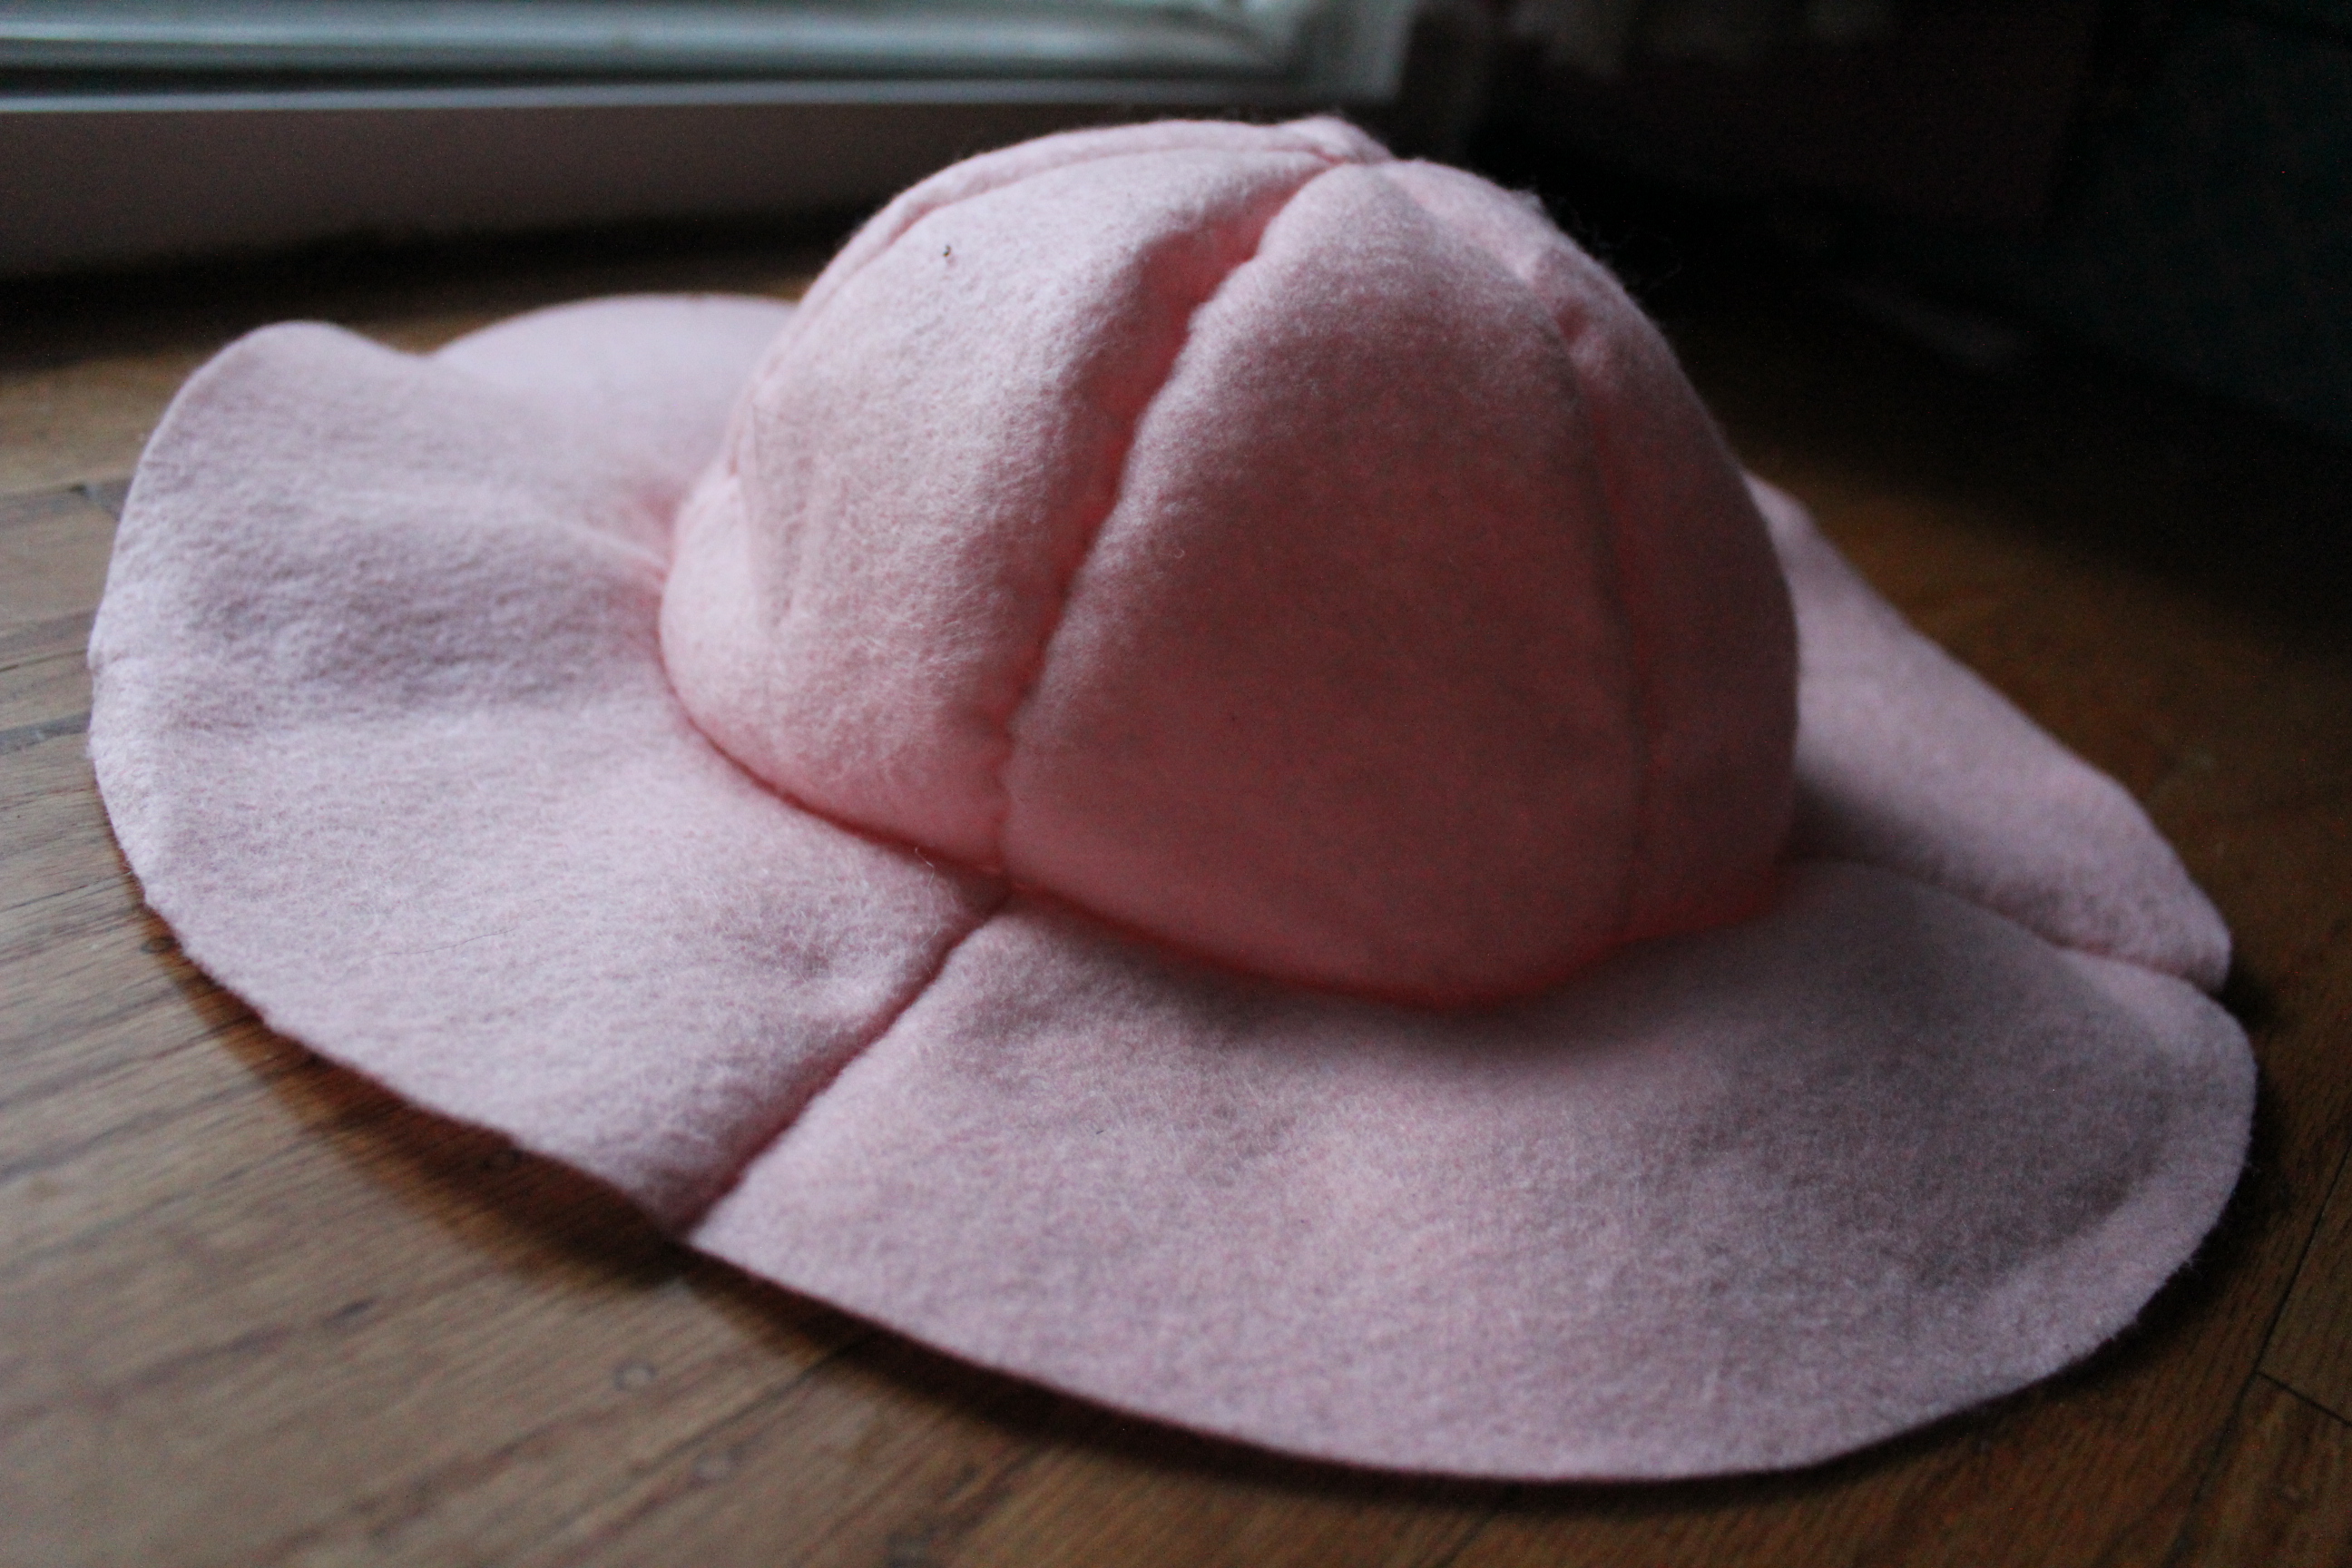
(Note: at this point, the sun set, so the next few pictures are in ugly yellow light.)

Afterwards, cut out a simple stencil for a strawberry out of cardstock.

IMG_7740

Make as many of these as you think you need to decorate your hat (I made ten),

IMG_7749

and evenly distribute them around your hat.

IMG_7754

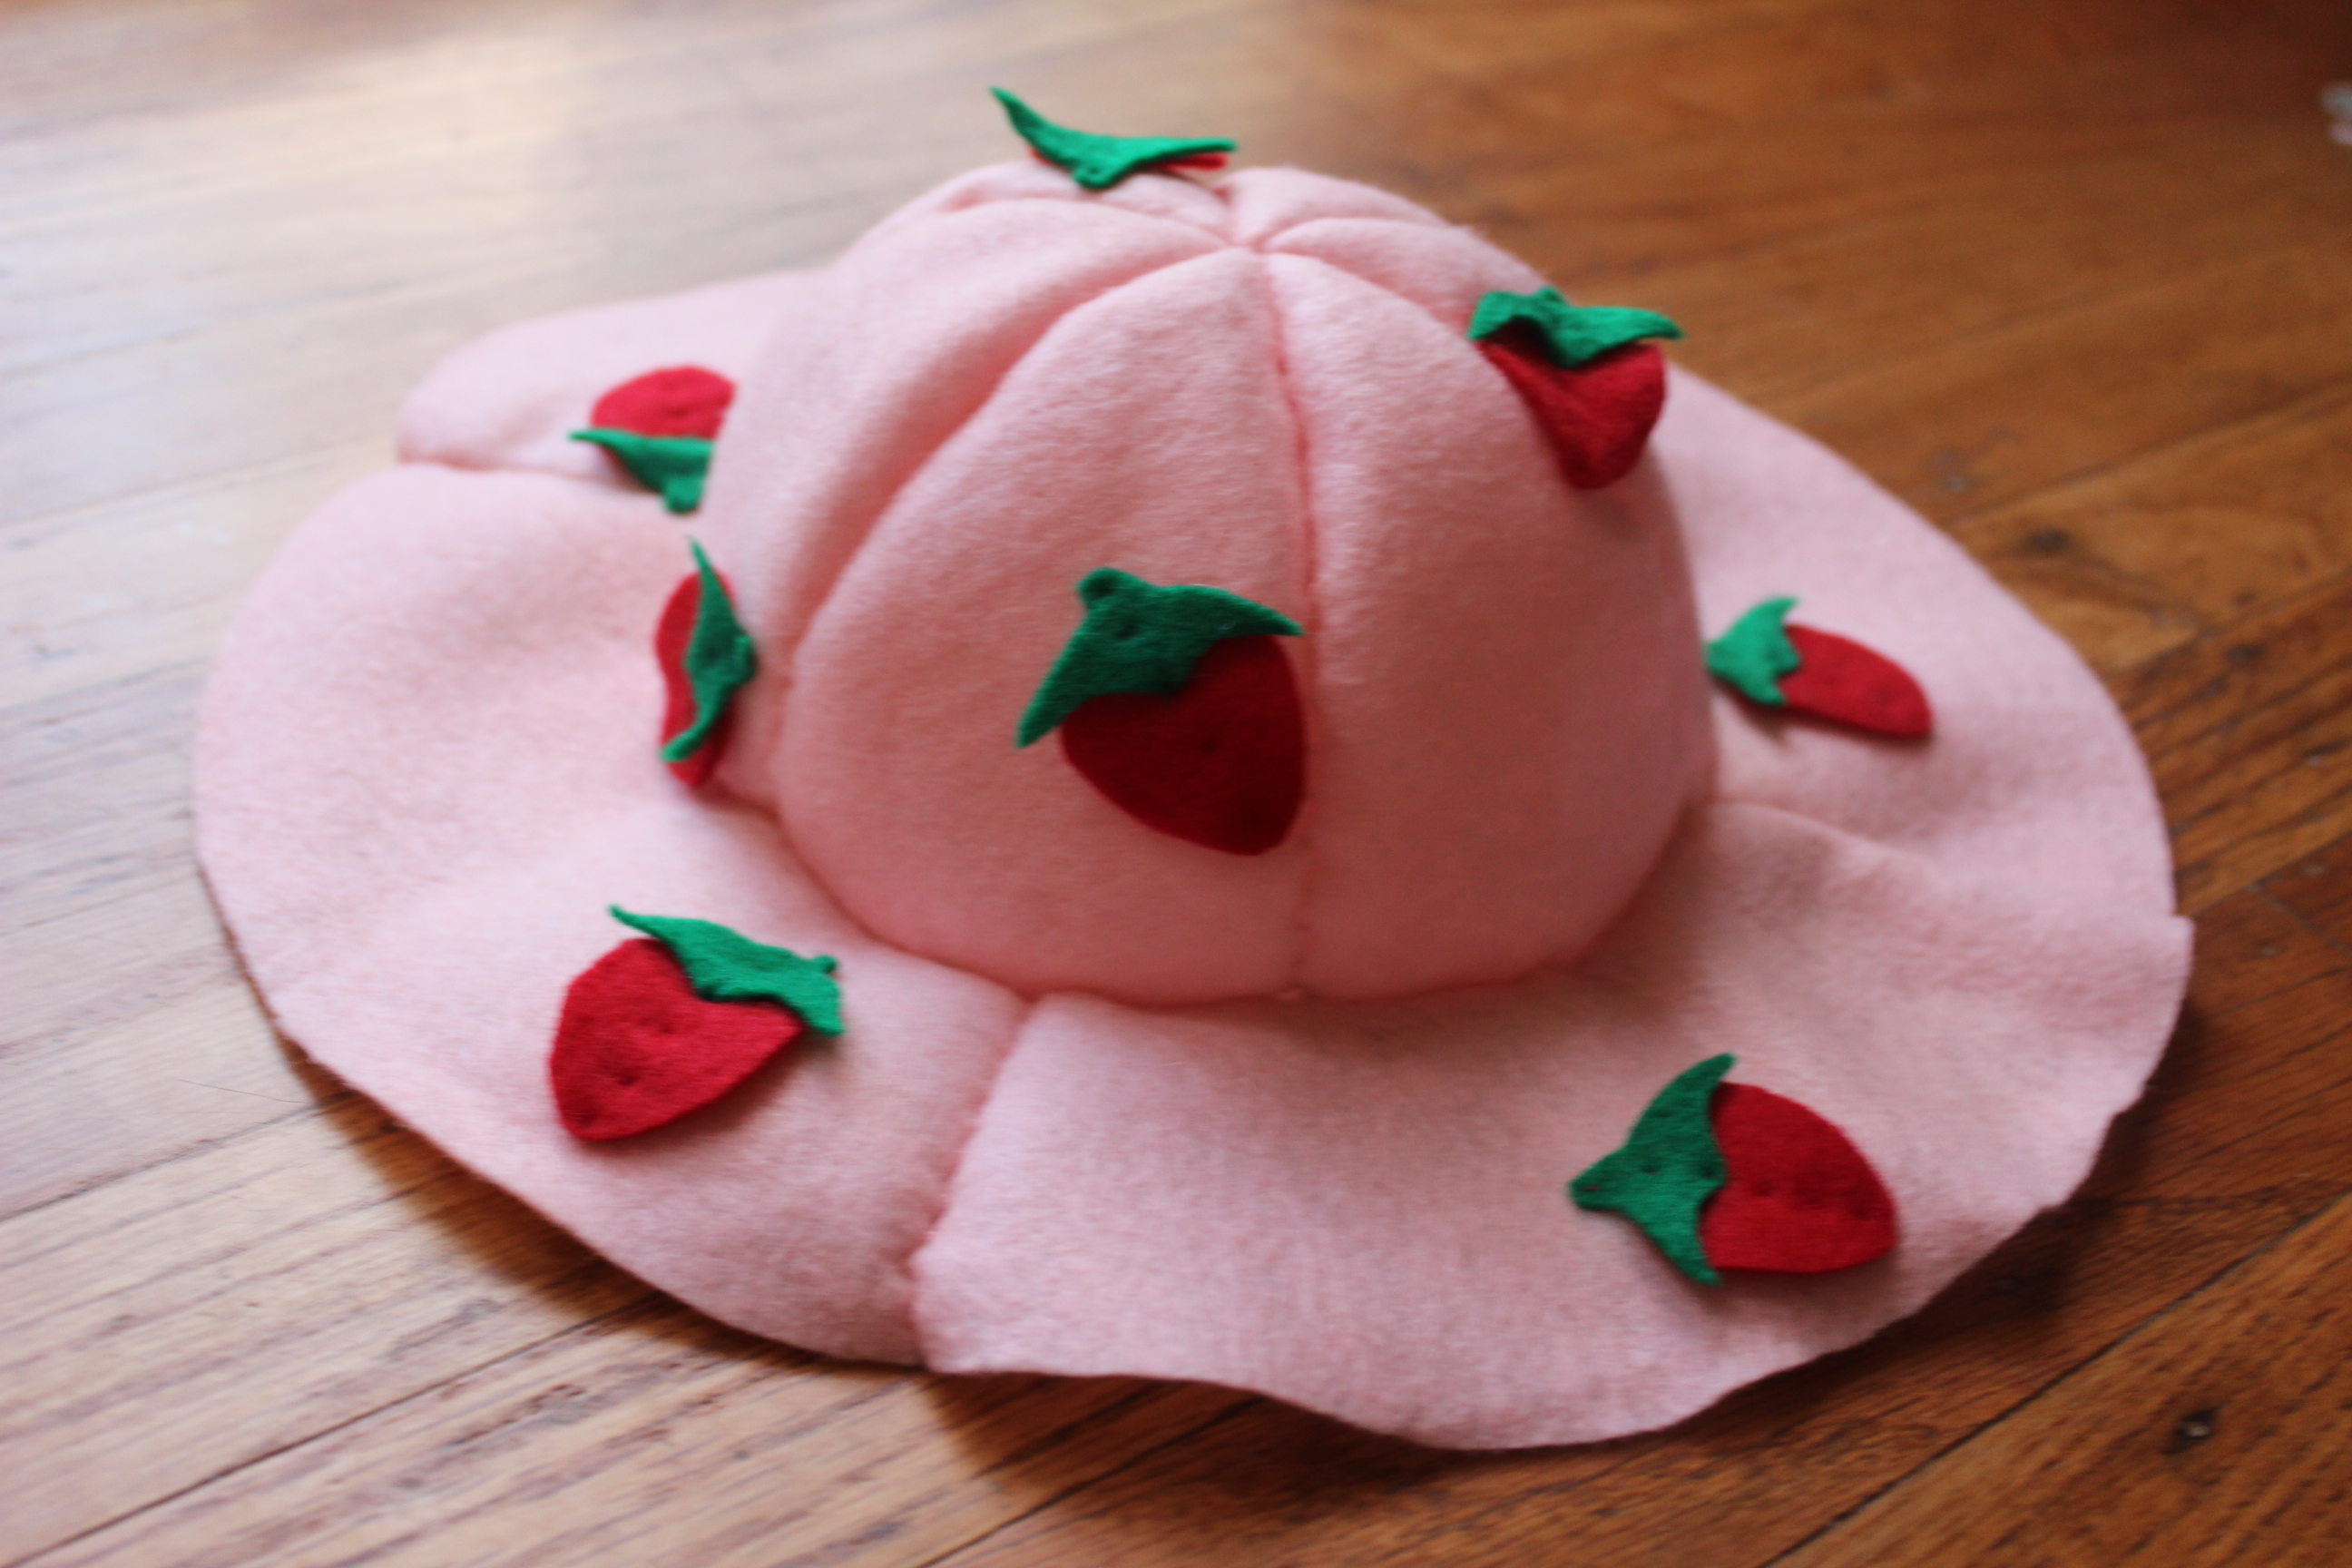
I attached them by sewing a straight line in red thread down the middle, like so:

IMG_7756

Once you’ve done that, sew a red ribbon around the hat in a ring.

IMG_7760

Make a bow out of green ribbon…

IMG_7762

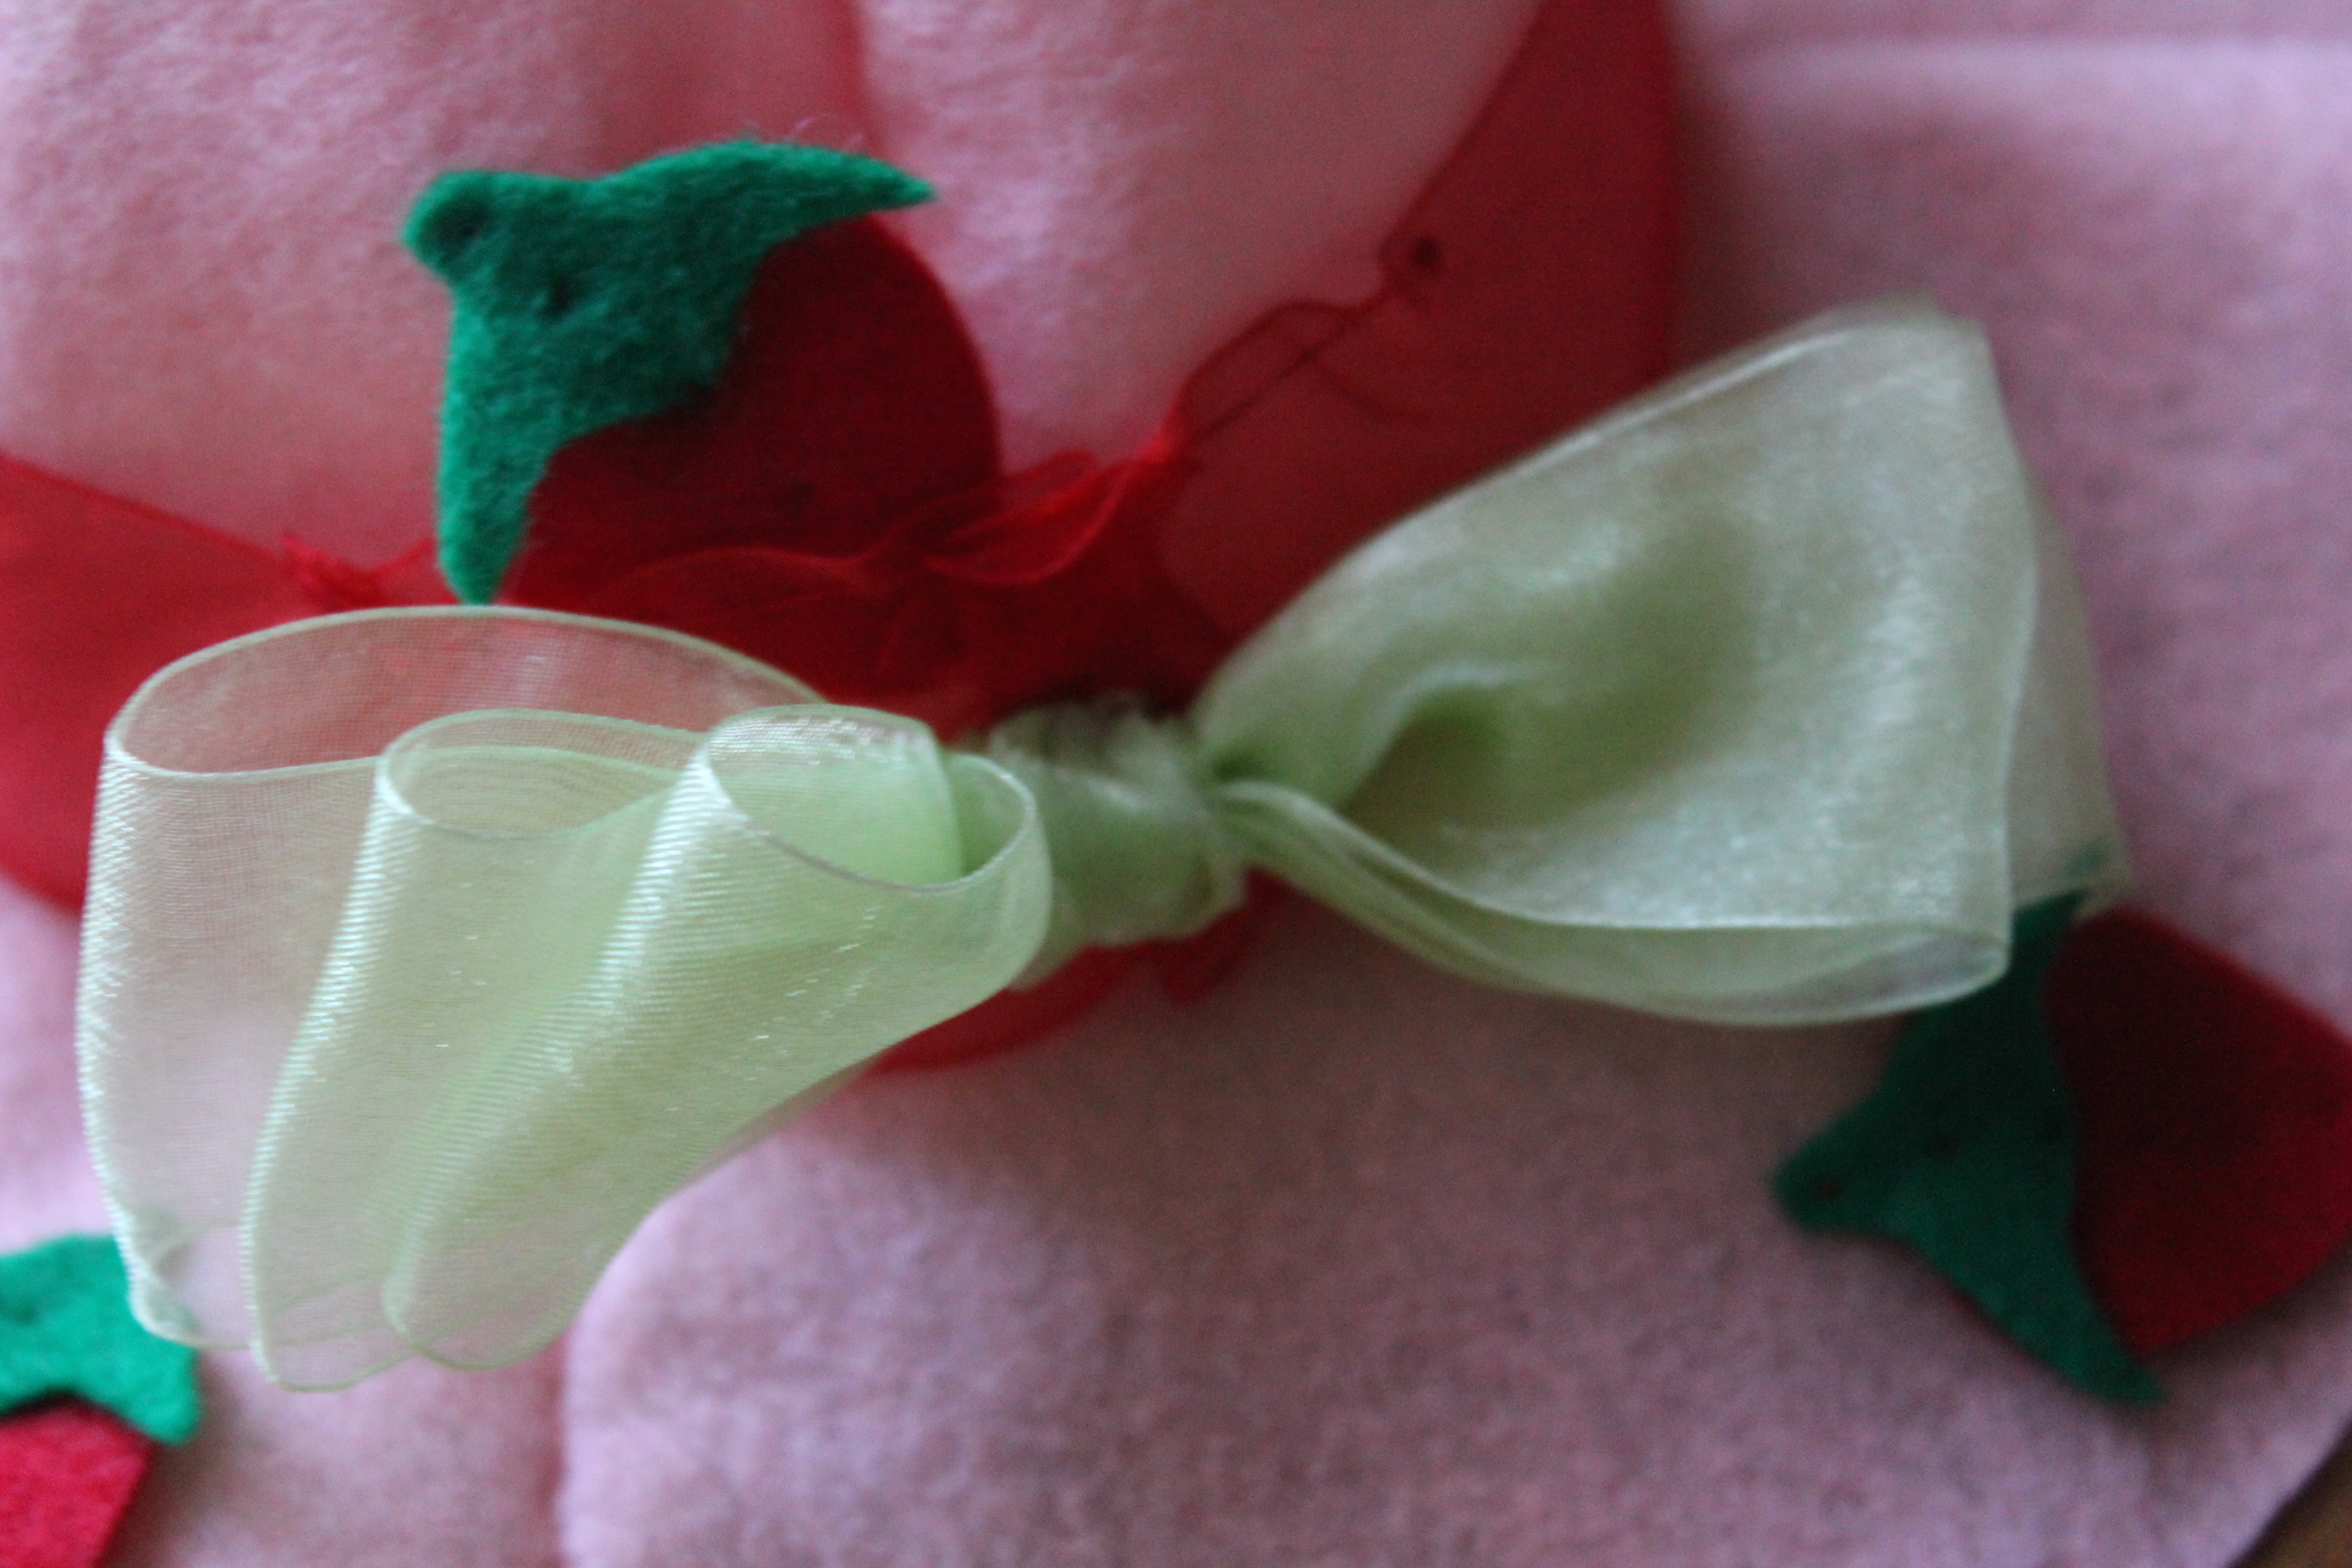
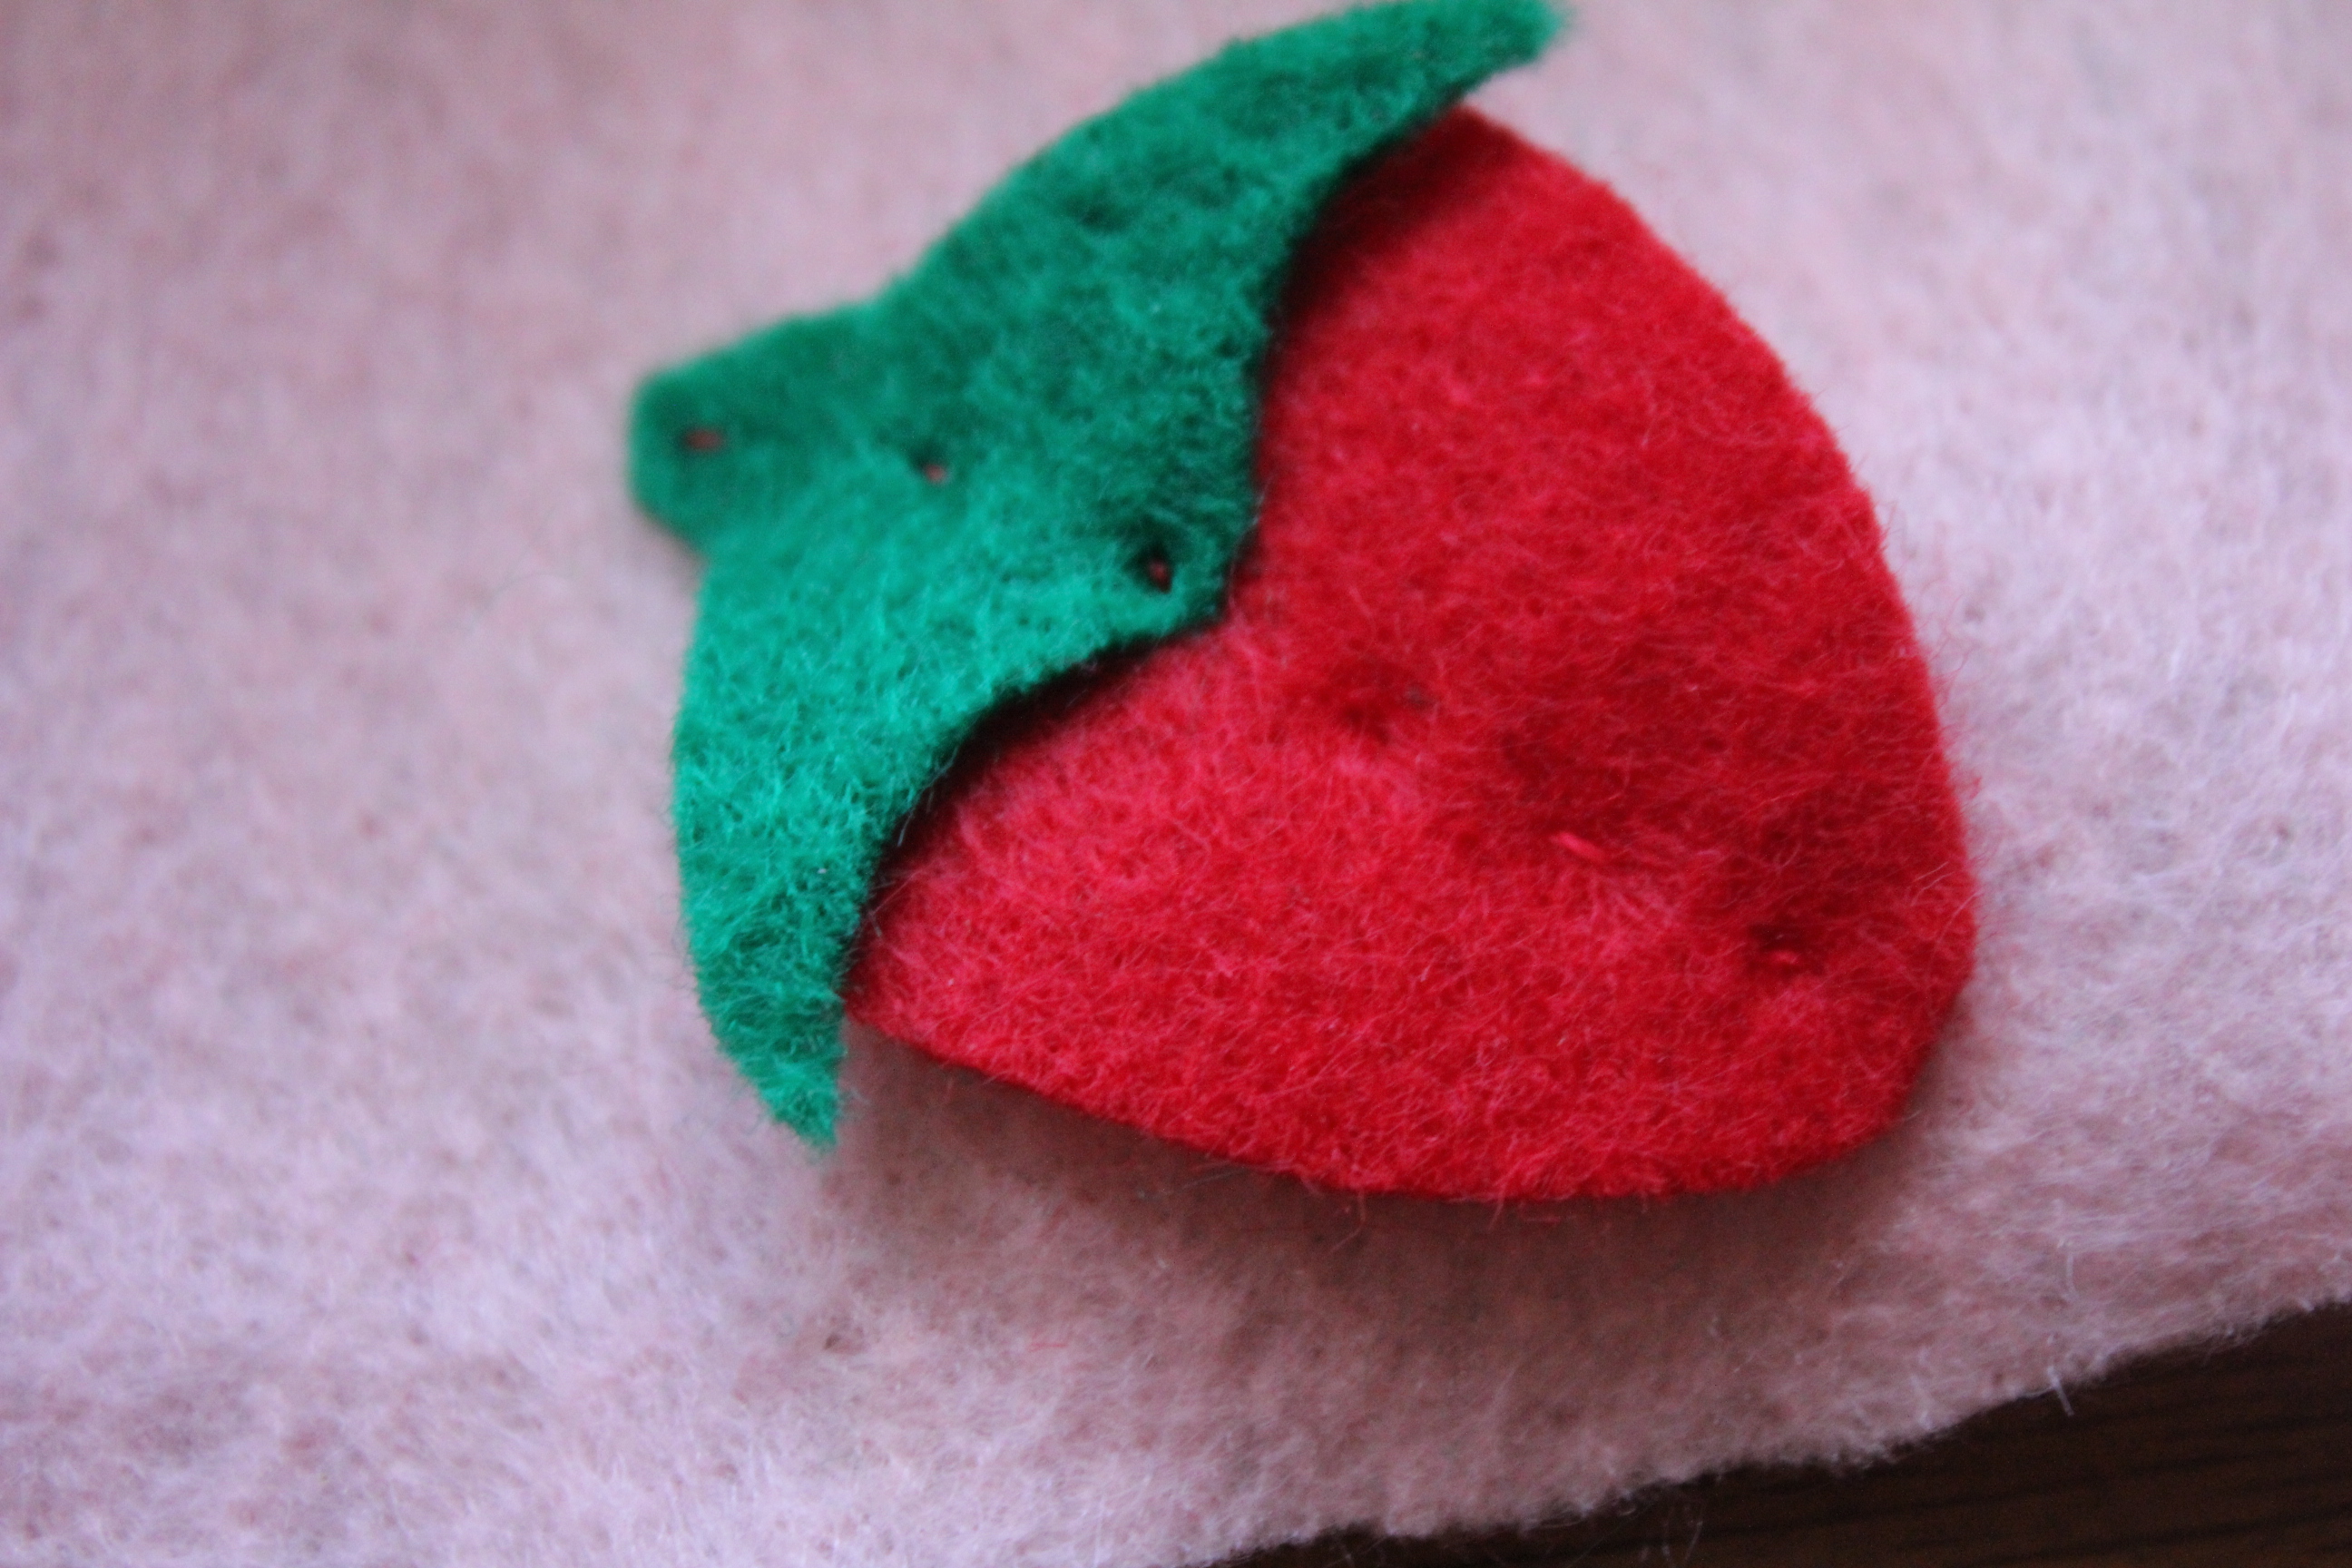
and make a little strawberry to attach to that bow.  Make stencils out of cardstock,

IMG_7766

Cut out two of the body pieces and one leaf piece,

IMG_7769

sew seeds onto the red piece that will go in front,

IMG_7771 IMG_7772

Sew the two pieces together, remembering to add some stuffing before sewing it closed.

IMG_7773 IMG_7776

Sew the leaf piece on, and attach the entire strawberry to the center of the green bow, and attach the whole bow to the hat.

IMG_7781

Now, using thin ribbon, add straps to the hat.

IMG_7837 IMG_7838

It’s now ready to wear!

IMG_7853

For the Strawberry Shortcake shirt, prepare some fabric paint.  I got fabric spray paint at first, but it clogged after the second spray and I couldn’t unclog it, so I just stuck with normal paint.  Also get a plain white shirt, scissors, thick masking tape, some brushes, and some scrap fabric.  Find two pieces of cardboard and a container for your paint, as well as a marker of some sort.

IMG_7945

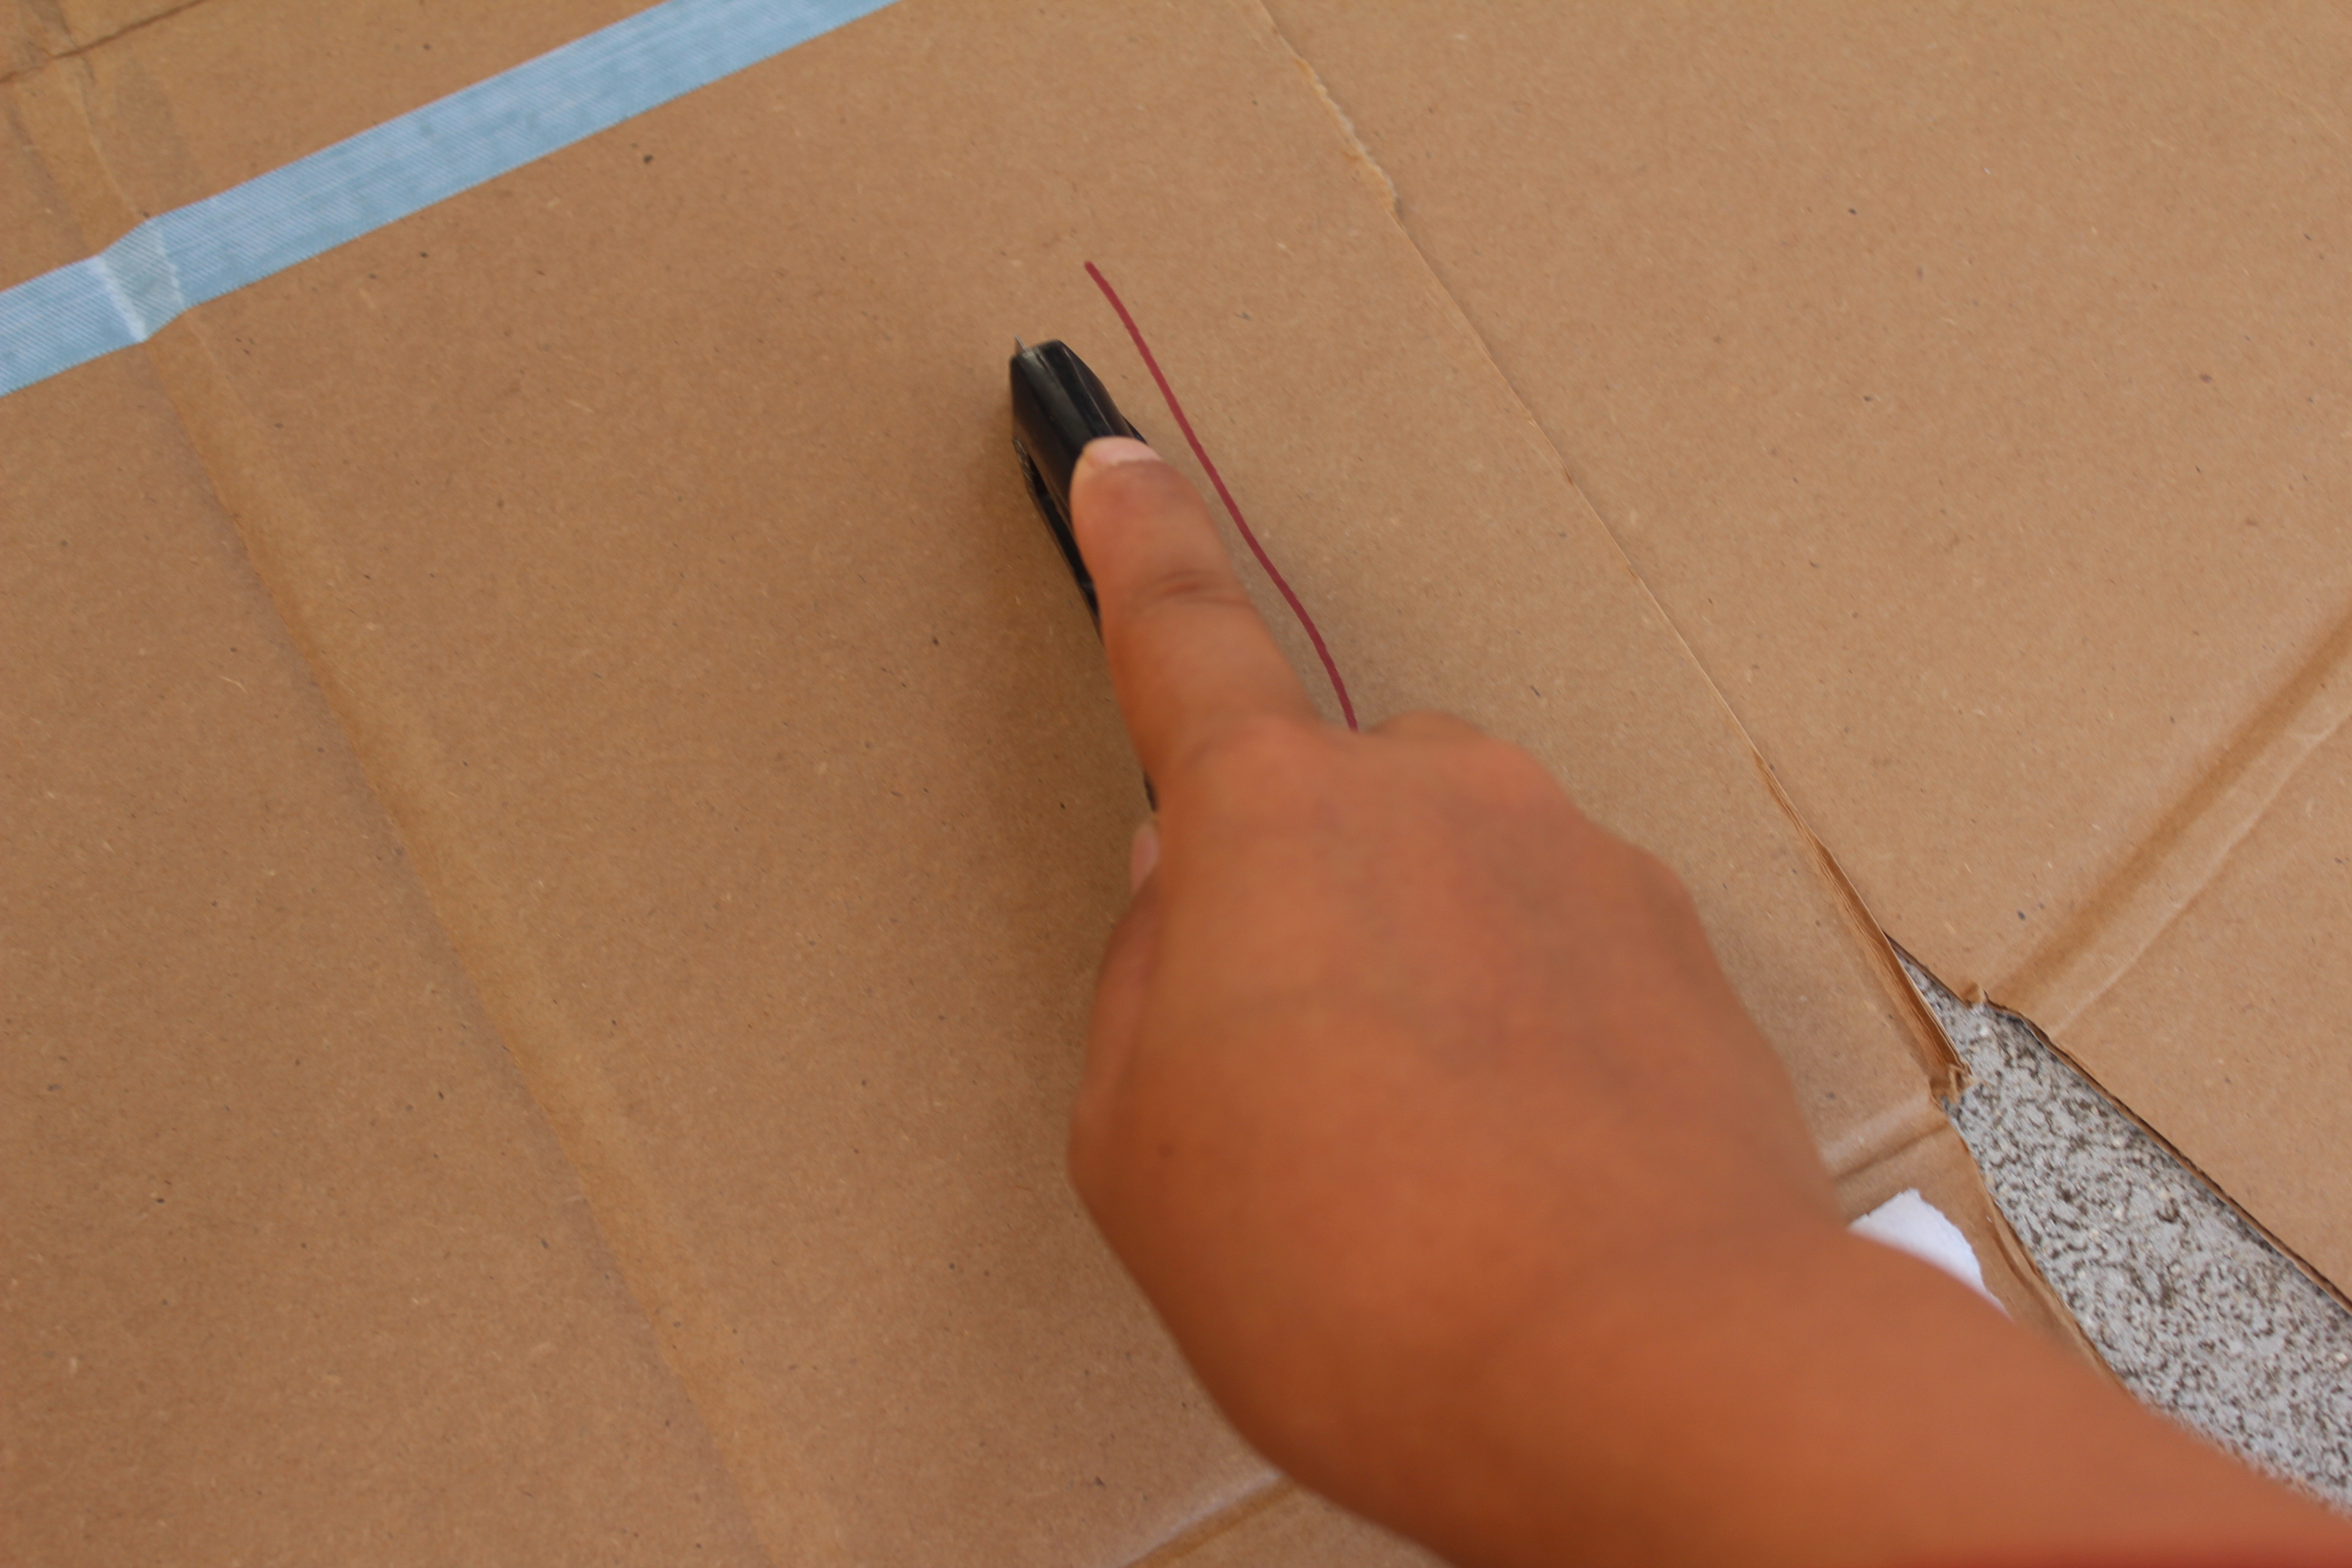
Test your paint, to make sure it works.

IMG_7948

Now, cut a piece of cardboard to fit the inside of your shirt, so your paint doesn’t seep through both layers.  I did the body and the sleeves separately.  In hindsight, I should’ve put cardboard in both the sleeves and the body, because having to move the sleeves every time I flipped the shirt over ended up being a big hassle.

IMG_7953 IMG_7954

Now, add masking tape to your shirt.  There should be three stripes on the body and three stripes on the sleeves.

IMG_7955

Now, paint!

IMG_7957

Repeat the same process with the sleeves.  There should also be three stripes for the sleeves.

IMG_7958 IMG_7960

After about thirty minutes, take the tape and cardboard out, and let dry for three to four more hours.  After at least three days, turn inside out and wash.
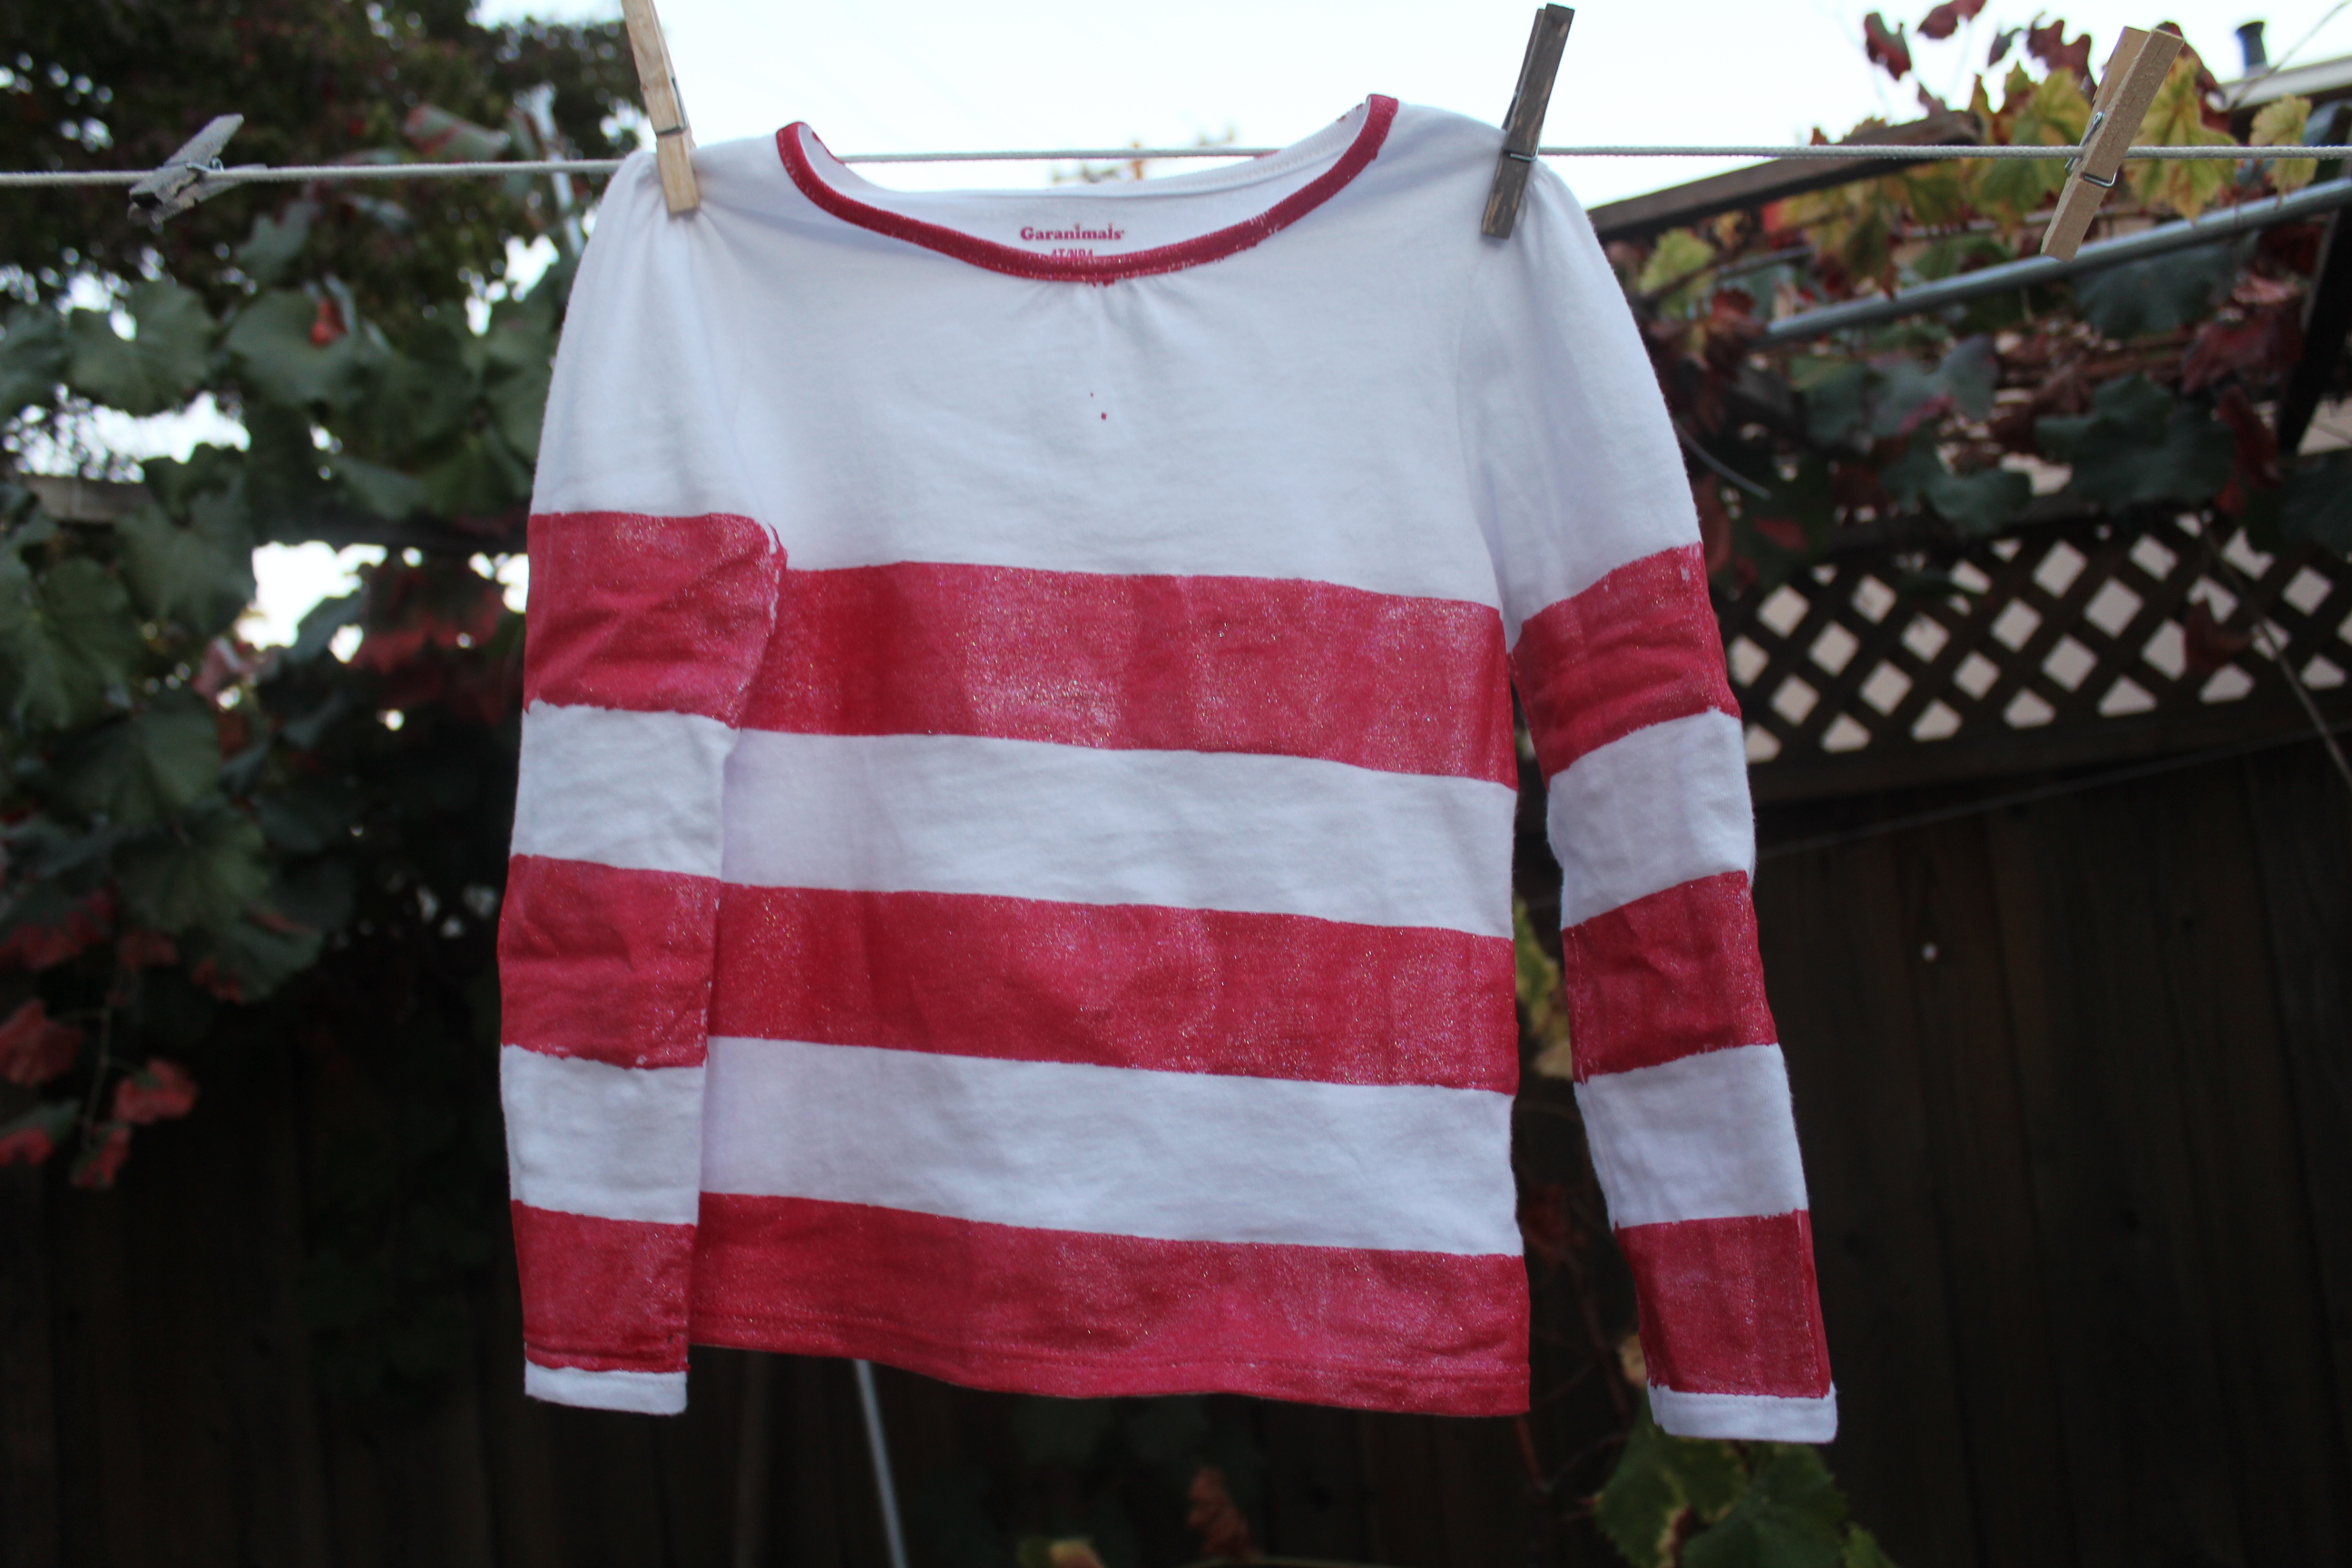
IMG_8066

The shirt is done!

Now just pair with a pair of plain blue jeans…

IMG_8067

and tie a red jacket around the waist, and you’re done!

My sister’s red jacket was in the wash, so she doesn’t have it in these pictures.

IMG_8052 IMG_8058 IMG_8065

Yeah, there’s nothing in that basket.  But isn’t she cute?

Good luck with your Halloween exploits, and don’t be that one jerk who dumps the whole candy bowl into your candy holder!

-Coco

linked to Clever Chicks Blog Hop #162

New Year’s Eve

Source

Like many, many other bloggers are doing at the moment, I am going to try and sum up my year so far.

First of all, who feels like 2013 never happened?  I feel like we jumped right from 2012 to 2014.

This has been an incredibly short year.  It’s really just whizzed by for me.  When I look back and think about it, I don’t really know if I’m satisfied.

One of my friends was going to go on vacation to Mexico, but then the night before departure, she discovered her passport had expired.  But, not to fear, because they managed to get tickets to Hawaii the next day at half price.  Wow.

Here in the Forever Sunny California, we are having lovely weather, though very chilly in CA terms.  It’s only 54 degrees Fahrenheit!  Do you realize how cold that is?  The penguins might as well move here!  Everyone has to actually wear jackets, it’s that cold!  And there is actually wind!  Yesterday, we got winds strong enough to blow trash all over the highway.  I guess you never know how much trash is in your town until the wind blows it into your windshield.  As Bay Area residents a decent distance from the actual bay itself, we do not get winds.  Or cold temperatures.  This is outrageous!  What is happening to the world!

However… due to the fact that we got some actual rain a few weeks ago, every plant around here is absolutely convinced that it’s spring.

This camellia thinks it's spring.
This camellia thinks it’s spring.
This vegetable patch is glad it's springtime.
This vegetable patch is glad it’s springtime.
The budding hopes of spring sunshine.
Spring chrysanthemums.
A lovely hydrangea welcomes spring.
This rose stretches in the warm spring air.
This rose unfurls in the warm spring air.
This azalea is so glad winter didn't come this year.
This azalea is so glad winter didn’t come this year.  As usual.
This pea plant thrives in lovely sunshine.
Strawberries are a little mad at the short notice.
But they're still prepared with flowers...
But they’re still prepared with flowers…
And lots of soon-to-be fruit!
This lantana is sure glad that decided to go on vacation!
This lantana is sure glad that winter decided to go on vaca!
This rose is cranky.  It didn't get a good winter's sleep.
This rose is cranky. It didn’t get a good winter’s sleep.
However, this patch of alyssum is just bursting with anticipation!
However, this patch of alyssum is just bursting with joy!
And just look at that adorable lobelia!
This elegant calla-lily smiles in the face of spring.
A whole family of spring roses!
This poinsettia just wants to die.
Jealous yet?
Jealous yet?

So the point is, we’re experiencing spring here.  It’s as lovely as lovely gets right now, and I have a lot of big hopes for next year… the backpack I’m making for my baby sister is coming along slowly but surely, my riboflavin deficient chicken, Penny, is back with the rest of the flock, and I’m finally figuring out how not to die while trying to finish all of my homework.  And have you seen the Google Doodle today?  It’s enough to make anyone optimistic!  I think it sums up the hot topics this year pretty well…

Any of you on vacation?  I’m jealous.  But tell me all about it, anyway!

I do not plan on making any New Year’s resolutions.  I break all of them by January the second.

Cheers to the year that has passed and the year full of hopes ahead!

Wow, that was an awkward sentence.

The point is, Happy New Year!

-Coco

Christmas Spirit: Wreath Tutorial WITHOUT Wreath Form

IMG_6751

When I come across a good Christmas wreath tutorial, I always get really excited.  Wreaths are just awesome, and there’s not denying it.  However… most of them require a wreath form.  And that’s seriously annoying for me.  I don’t want to have to rush to the crafts store and buy one of those things for up to 7 dollars if I want a nicer-looking one.  Plus, once I’m in the crafts store, I’m not coming out with less than half the store’s supplies in my bags.  (Please tell me you can relate.  Even if you can’t, say so anyway.)

Another thing is that those tutorials are hard!  They always look easy, but when I envision myself actually doing them, I realize, nuh-uh.  And they often require materials that I just don’t have.  I don’t, in fact, have a million yards of burlap just there (though I wish), nor do I have twelve robin figurines.

This is a little wreath which, although it isn’t very fancy or extremely eye-catching, is simple, easy, and perfectly do-able.  Plus, you shouldn’t have to buy anything for it, and even if you do, you should be able to keep it under $10.  A five-year-old could probably help, if you use superglue in place of thread.

And… the reason you don’t need a wreath form is because you will be making one!

You will need:

IMG_6726

Christmas tree trimmings:  You can probably find these discarded at any place that sells live Christmas trees.  They should let you have them.   These are the ugly ends trailing at the bottom of the Christmas tree we bought, which I trimmed off using clippers.

Decorative string or yarn:  Anything that you think is compatible with your evergreens will work.  I used golden wired string.

Others:  Some wide, wired ribbon will look nice, and I used fake glittered berries and jingle bells.  Anything would work, really, like burlap ribbon, real berries, sprigs of lighter evergreens, or those robin figurines I was talking about earlier.

Part 1: Making the Wreath Form

Start with a bunch of evergreen scraps.

IMG_6727

You want most of them to be thin branches, with a few thicker ones in there.  They all have to be able to bend and shape easily.  Gather them together in the shape of a circle, and tie at intervals with any old yarn or string you like.  Twist smaller branches around the sections that aren’t thick enough.

IMG_6728

I will look very ugly at this point, but that’s perfectly fine.  Don’t worry about the random sections trailing off at this point.  Now, take out your string or yarn and tie it around any random point on the wreath.

IMG_6732I know, you can’t really see it at all.  Wrap the string or yarn around the whole thing, binding all of the branches together and reigning in the loose ends.  Knot off the string, and take out the random pieces of yarn you used to tie your branches together earlier.  It should look something like this:

IMG_6736

This is your wreath form!  It looks pretty ragged, but it will do its job well.

Part 2:  Shaping Up and Decorating

The wreath form doesn’t look the best, so you’re going to need to add some more branches to it.  Stick the ends of your new branches into the form, and bind with more of the string you used before.

IMG_6739

Now it’s more full, with a more symmetrical shape, yet a little more wild and less restrained.  You can now begin decorating however you wish!

IMG_6740

I added foam berries by threading some string through them with a needle and thread, then tying the string to a branch in the wreath.  I used black, so it isn’t too noticeable.  I also tied on jingle bells in the same manner.  I used some wide ribbon I got at Costco (yes, Costco!) but it was an old scrap piece, so it didn’t have as much bounce as I would’ve liked.

IMG_6746

I just used an unbent paper clip, secured to the branches on the top, for hanging the wreath.

IMG_6751

Finished product!  While you might want to stick with something more sophisticated for your front door and your mantle, this one could at least go on a bedroom door… or a chicken coop, since they probably won’t mind.

The little thing you see on top of the wreath is the cover of a greeting card.

Well, Merry Christmas or whatever you celebrate!  I may post some other gifts I have for friends and family… soon.

-Coco

Christmas Spirit – Sheet Music Egg Ornament

IMG_6615

You may remember that I made egg ornaments before, in this post.  Here is another similar ornament, which might be easier to make if you don’t have rub-ons.

So, let’s get started!

Materials:

-blown egg (you could also use a plastic Easter egg, but that’s no fun)

-sheet music (preferably with small notes, doesn’t have to be “vintage”)

-Mod Podge

-a brush (foam or just a cheap artist’s brush)

-some kind of pretty string

-a toothpick (preferably with ridges)

~~~

IMG_6602

1.  Blow an egg.  If you don’t know how to do this, there are a million tutorials on the internet.  I use a thumbtack and a “nasal aspirator,” or as I like to call it, a snot-sucker.  I always have a basket of blown eggs ready to use.

IMG_6605

I chose this one, because I didn’t like the large hole in the bottom, and the sheet music will cover it up later.

~~~

IMG_6600

2.  Rip the sheet music into small pieces no bigger than your thumb.

~~~

IMG_6608

3.  Apply a coat of Mod Podge to a piece of sheet music, and stick it on your egg in whatever position you like.  Random is good here.  I try to choose “busy” pieces, with lots of interesting notes on them.

~~~

IMG_6609

4.  Work your way across the whole surface of the egg…

IMG_6611

And soon it should be all covered.  Leave a space at the top, about the size of one of your sheet music pieces.  Make sure the hole at the top is exposed.

~~~

IMG_6612

5.  Insert a section of string into the hole at the top.  For more on this technique, visit my other egg ornament post.

~~~

6.  Poke a hole through a piece of sheet music large enough to cover the remaining section of exposed egg.  Thread the string through the hole, apply Mod Podge to the piece of sheet music, and secure it in place on the egg.  I forgot to take pictures, sorry.

~~~

IMG_6615

And… done!  None of these materials should be too hard to acquire, so this project is definitely under $10.  It’s very simple and easy to make.  This ornament is sturdier than the other egg ornaments I posted, because of the layers of paper.   I don’t usually apply another layer of Mod Podge on top, because it smears the notes, but if you like that affect, go ahead.  In fact, you could even try painting coffee over it if you really dig that “vintage” look.

These would make great gifts, and they would look amazing on your own tree, too.

Only 11 days until Christmas!  Whoo!

Happy whatever you celebrate, and get crafting!

-Coco

Linky parties joined:  Clever Chicks Blog Hop #117 (as usual)

Spazzing up Store-Bought Soap: Easy Oatmeal Soap

Now, as you probably all know, I am incredibly cheap.  I’m not even going to mask it with the word “frugal” or “thrifty,” I’m just plain cheap.  I refuse to spend any unnecessary money, even on a cute craft that would make the world love me forever.  I use the cheapest materials possible, and spend the extra hour to make it nice.  Now, you might remember that I made pom pom bookmarks for my friend, and shared it with you in this post.  I mentioned at the end that I also gave her another gift, which was oatmeal soap.  My friend has this incredibly strange obsession with natural ingredients that are “good for your skin.”  It annoys the heck out of the rest of us.  These few months, she has been absolutely crazy over oatmeal.  Whenever we mention anything involving oats or oatmeal, she immediately says, “Oh, oatmeal is really good for you skin!”  And then, “But it is, really.”  Once, when I went over to her house, I caught her chopping oatmeal into fine powder with a kitchen knife.  While we were chatting, that was what she was doing.  Chopping oatmeal into a fine powder.  This friend of mine also has a mom who has an addiction to any and all cooking machines, so of course, she had a food processor, but she said that the oatmeal didn’t do well in the food processor.  To satisfy her insatiable desire for oatmeal on skin, I decided to use some leftover snow grinds from my snowball soaps from this post and make her some oatmeal hand soaps.

IMG_6617First, I loosely chopped some oatmeal, just the normal Old Fashioned Oats from Quaker Oats.  You could probably use any other type, we just happened to have that.

IMG_6279

Then, I ground up some more soap.  You can visit my Snowball Soap post for more on that.

I then mixed the two together.  Do not chop too much oatmeal!  This was the mistake I made.  You shouldn’t have more than a 1:5 ratio of oatmeal to soap.  I didn’t take any pictures, but it shouldn’t be too hard to figure out how to mix oatmeal and soap.

IMG_6618

I don’t have any more specifics, but basically, I added some warm water to the soap grinds and shaped it into little disks, like the kind you get at hotels.  I cut up a brown paper lunch bag into circles and folded it around the soap disk.  I added a little label on the disk.  The soaps (there were eight of them) were packaged in a gift box I learned to make from this post on Homemade Gifts Made Easy.

So, this is a nice way to spazz up some cheap-o store-bought soap you have!  Of course, you can also add essential oils (but they might mix badly with the original scent of the soap), dried and crushed herbs, or even enclose a figurine like I did in my Snowball Soaps post.  Now that I think about it, this might make a great Christmas gift!

One that note, happy whatever you celebrate, or if you’re like me, Merry Christmas!  Get gift-making!

-Coco

Birthday Gift: Pom-Pom Bookmarks

IMG_6676

I have another tutorial for you today!  These are part of the birthday gift I gave to one of my friends for her birthday, which was at the end of November.  I decided on this while desperately searching on the internet and coming across this post from The Cottage Market, which led me to this post from Design Mom.  Please check out the originals so I don’t feel guilty for stealing!

I thought this would be perfect, since my friend is a huge bookworm.  Actually, a lot of my friends are, including me, but this particular friend read psychology volumes when she was five and suspected her doctor of using psychological tricks on her.

Now, the pom-pom making method from Design Mom seemed a little messy and too easy to completely fail for a person like me to make, so I decided to use the method that my mom taught me when I was about seven.  Here’s my version!

You’ll need…

-cardboard, at least twice the size of the circumference you want your pom to be

-scissors that can cut through cardboard and yarn

-a math compass (we’re not sailing here)

-and most importantly, yarn

~~~

IMG_6633 IMG_6634

1.  Take out your cardboard and your compass.  Draw two concentric circles, with the larger one being the size you want your pom.  This works better if the smaller one isn’t any larger than 3/4″ in diameter, but it isn’t the end of the world if the circle is larger.  Just make sure it’s not any wider than the base of your thumb.  (I know, that’s confusing)

~~~

IMG_6638

2.  Cut that one out so there’s a hole in the middle and it looks like a donut.  Then make another one so the first one has an identical twin.  Cardboard donut buddies!

~~~

IMG_6643

3.  Put them together so they line up, like this.

~~~

IMG_6641

4.  Take out a length of yarn.  It doesn’t really matter how long, it just needs to be able to fit through the center of the cardboard donuts when balled up.  I’d guess, um, three times your arm span to start.  (Is arm span a real term?)

I just pulled some out of my impossible-to-navigate yarn drawer.  I chose pink yarn with pretty standard texture.  It’s firm enough to hold shape, not too thin, and not too thick.

IMG_6639

You do not want fluffy stuff like…

IMG_6640

this.  I guess you could try, but no promises, okay?

~~~

IMG_6644

5.  Take your yarn and arrange it in a small bundle that will fit through the hole of the cardboard donuts.  Leave a tail about a foot long.  Tie the end of the yarn to your donuts, making sure it is secured around both donuts.

~~~

IMG_6648

6.  Start wrapping the the yarn around the donut, like pictured above.

Keep wrapping…

IMG_6649

and wrapping…

IMG_6650

and wrapping.

Don’t be too particular about how evenly spaced the yarn is.  Just make sure that the inside of the donut is covered pretty evenly.  As long as your yarn is wrapped at semi-decent intervals, you’ll be fine.

IMG_6651

Once you get back to your starting point, just keep wrapping over your first layer!

IMG_6652

When the yarn runs out, just tuck the end behind another strand of yarn,

IMG_6654

pick up another length, and keep going.

~~~

IMG_6655

7.  Once you have deemed your donut chubby enough, they should have at least two layers of yarn covering every little millimeter.  I actually don’t think this donut was chubby enough.

~~~

IMG_6656

8.  Slide aside some of your yarn to create a gap in your donut, so the cardboard is exposed.

~~~

IMG_6658

9.  Keeping a finger in the middle of the donut, start snipping the yarn, sliding your scissors in the space between the two pieces of cardboard.

IMG_6660

It should begin to look like this.  Don’t shift your finger in the middle, or the yarn will become messed up.

~~~

IMG_6659

10.  It should look like this when you’re done.

IMG_6661

Cut a length of string,

IMG_6663

and insert it between the two layers of cardboard.

IMG_6664

Take your finger out of the middle, and pull the length of yarn tight.  Tie it once.

~~~

IMG_6665 IMG_6666

11.  Carefully remove the cardboard pieces, one at a time.  Don’t just cut them off, because you can use them again.  Tie the string around the yarn pieces a few more times, making sure to make it knotted tightly.

~~~

IMG_6667

12.  Fluff the yarn up, and give it some light trimming.  It shouldn’t need too much work.  The pom pom I have here is very loose, and I probably should’ve made it tighter.

~~~

IMG_6668

Optional steps:  I tied the rest of the string into knots at equal intervals, since I was making a bookmark.

IMG_6673 IMG_6672

I also added a little tag, just a normal label that you could get at Office Depot.

~~~

IMG_6670

The finished product!  The bookmark is a bit big for this book.  If you haven’t read the Anne of Green Gables series before, march to the library and do so now!  They’re wonderful books.

IMG_6674

I made three of these, pink, yellow, and dark blue-ish teal, in graduating sizes.

IMG_6676

So there they are, made with simple tools that anyone has!  I know, my reading choices are odd.

With Christmas coming up, this would be a good gift for any voracious readers you know!  Or course, it would be a bit mean to only give them a fluff of yarn, so I’ll post the other gift I made my friend soon…

In the meantime, happy whatever you celebrate!

-Coco

P.S.  As I do every Sunday, I linked this up to the Clever Chicks Blog Hop #116 at The Chicken Chick, and I also joined a new linky party at Crafts a la Mode!

Christmas Spirit – Egg Ornament Tutorial

IMG_6613

Yes, I am finally doing a proper tutorial!  Who’s proud of me!  Most of the credit for this project has to go to MissPrissy from BackyardChickens.com, who inspired me with this post.  There are some really nice ones on that thread!

As I have previously stated, I am participating in our school’s craft fair this year.  One of the main products I am selling is egg ornaments, like the one pictured above.  I have a lot more.  Here I go…

IMG_6540 IMG_6542IMG_6543 IMG_6546IMG_6547 IMG_6548IMG_6550 IMG_6551

What do you think?  Aren’t they cute?  I just love them!  They’re also quite elegant, if I do say so myself.  Some of them, at least.  I made them with rub-ons from the K&Company, which look like this:

IMG_6538

I got them on ebay.com for something like $6.99.  It’s part of my very early Christmas present.  They were a bit damaged from shipping, but still perfectly usable.

So, to start, you’ll need:

-rub on transfers (from online or your craft store)

-wide popsicle stick or something similar

-blown egg

-Mod Podge glue

-brush (foam or just a normal art brush)

-bead caps

-string, metallic cord, or something similar

-toothpick

-thumbtack

IMG_6567

1.  First, you will need a blown egg.  There are about a million and a half tutorials on how to do this.  Don’t take Martha Stewart’s advice an buy an egg blower.  If you must, buy a “nasal aspirator,” or as I like to call it, a snot-sucker.  They’re about six dollars cheaper.  And a word of advice: make the hole on the top larger than the whole on the bottom.  I keep forgetting to do this, and it’s really annoying for me.

IMG_6572

2. Choose your rub ons and rub them gently into the egg surface with your popsicle stick.  Don’t worry about crinkles and wrinkles, because they will be there.  If you look closely, actually, if you look at all, you will see my little mistakes.  I was running a little short on supplies, so I know this design isn’t amazing.

IMG_6576

3.  Using a thumbtack, carefully enlarge the hole at the top you made for blowing the egg.  Or, if you were smart and made the hole at the top bigger, you won’t need to do this at all.  Unfortunately, I did not join the smart club of people.

IMG_6586 IMG_6589

4.  Take a toothpick, preferably one with ridges at the top, and break it in half.

IMG_6590 IMG_6592

5.  Take your pretty string, cord, whatever and tie it to the toothpick.  If it has ridges, tie it to one of the ridges.  Just making a simple knot with both strands should work.  Be sure to pull it tight!

IMG_6593 IMG_6594

6.  Insert the whole toothpick into the hole at the top, pushing it and the knot of string all the way into the hole so it looks something like the second picture.

IMG_6585 IMG_6597

7.  Thread the bead cap through the loop of string and apply Mod Podge to the bottom with your brush.  If you don’t know, Mod Podge looks like this:

IMG_6591

…and you can probably get it at your crafts store or online.

IMG_6599

8.  Press the bead cap carefully onto the egg.  Make sure it covers the hole nicely, and make sure it actually sticks.  Apply another layer of Mod Podge over it.  Once the bead cap is on, there isn’t much to do except wait.  I have no idea how long this takes, because I was making my sheet music egg ornament while waiting for it to dry.  I’ll post that tutorial soon!

IMG_6579

Optional step 9:  I added a little snowflake to the bottom of the egg because I had a big hole there to cover up.  Be smart and make the hole on top larger!  However, I think it adds a nice touch.

Optional step 10:  If you plan on passing these down as family heirlooms, you might want to coat the whole egg in a layer of Mod Podge.  However, I like the look of the uncovered eggshell, so I chose not to do that.

IMG_6613

Sooo… that’s it!  You should have an elegant and unique ornament that people will think you spent hours fussing over even though you probably spent about 15 minutes on it.  Unless something went wrong, which totally doesn’t happen to me all the time…

Hang a bunch of them on your tree and you’ll have all of your guests oohing and aahing over them!  But tell them No Touchy.  They are eggshells, and they will break.  Store them in a cushion of tissue paper and they should last for years.  If you have small children, hang these on the top of your tree.

So, these take about an hour and a half and $10 dollars (counting the eggs, which you get to eat) for ten ornaments!  Which is great, since most crafts take much longer than that!

Have fun with your ornaments, Happy Thanksgiving, and Happy Holidays!

P.S.  Argh!  I forgot again!  This post is linked to the Clever Chicks Blog Hop #115 at www.the-chicken-chick.com .

Now, Happy Holidays!

-Coco

Plushie Gallery

So… I have been hinting (very obviously) at this post for about a week!  I didn’t show you earlier because, well, I was too lazy to take pictures.  Now that it’s Thanksgiving Break (we get the whole week off) and I have the whole week free for crafting (sort of), I will be very busy posting a ton of stuff I’m doing!

And ‘ere the gallery begins…  again, I plan on selling these at our school craft fair.

First off, all of the plushies I learned from tutorials on http://hapyshoppe.blogspot.com/!  Aiko is a plushie genius!

Octopus Plushie
Octopus Plushie


Jellyfish Plushie (ignore my chewed-up nails)


Penguin Plushie
Penguin Plushie


Of course, all of hers looked a ton better, but I don’t think mine look too bad…

And the others are mostly random ones I made up myself.

Jingle Bell Ornament  (with jingle bell inside)
Jingle Bell Ornament (with jingle bell inside)


Tree Ornament
Tree Ornament


Stocking Ornament
Stocking Ornament


Santa Ornament (design by Tammy Hallam, another plushie genius! http://plushbytammy.blogspot.com/)

These were all very easy to make, except for the Santa Ornament, which took me forever do to my idiocy, and the fact that the thing is extremely tiny.  I will post a tutorial on the stocking, tree, or jingle bell if I get any requests.

Oh!  And I nearly forgot again.  I posted this link on the Clever Chicks Blog Hop #114 at the-chicken-chick.com.  Speaking of which, she finally won that ridiculous lawsuit!

Christmas Spirit – Snowball Surprise Soap Rip-off

IMG_6293

Most bloggers would wait until at least the middle of November to start with all the Christmas stuff, but I do not pertain that certain desirable quality called common sense.  I am one of those huge Christmas fanatics who rambles about the Christmas Spirit all year and sees no reason why “Have a Holly Jolly Christmas” should not be played at a Fourth of July party.  However, every crafter knows that Christmas started long ago!

Today, I have a cheapie’s version of the ever-popular “snowball surprise soap.”  I’m making these for our school’s December craft fair.  You can find the original tutorial almost anywhere, but I found mine on a Family Fun magazine at the dentist’s.  In most instances, people grate Ivory soap with a cheese grater, but since I had neither, here is my version.  It is incredibly easy, and safe enough that your four-year-old could probably complete most of the project.

IMG_6275I attempted this a year ago, but I did it with a friend’s apple saucer.  Since apple sauce is much finer than grated cheese, it took me forever to get half a bar of soap grated, and it didn’t hold together very well.  It’s that pitiful fail  in plastic wrap with the “surprise” painfully obvious.

IMG_6277The main ingredient is Lever 2000 white soap.  It was the cheapest they had at Costco the day that I bought it.  Ivory soap, which most people use for this project, is much more expensive.  You get about a quarter of the amount for the same price.

IMG_6272 “Is that a plastic cup?” you say.  Yes, indeed it is.  Since I do not have a cheese grater, I poked holes into a disposable plastic cup with a kitchen knife in an act of desperation.  (Sorry, mom, about the kitchen knife.  I promise I’ll wash it afterwards.)

IMG_6279I vigorously grated the soap against the plastic cup, and I got through the bar in about ten or fifteen minutes.  The plastic cup does a lot of creaking and squeaking, but it works, and is probably safer for young children than a cheese grater.  Tip: do this in a container that will hold water.

IMG_6278 I added a small quantity of warm water (actually, I added too much) to my soap.  Using my hands, I molded the flakes into a ball shape around one of the cute Christmas buttons you see on the left, making sure to cover the button.   This part is a little bit messy!

 IMG_6283One bar of soap made about five snowballs.  It depends on how big you want them.  Because the snowballs were so mushy and messy, I felt the need to roll them around in my extra soap fluff, but they turned out looking like coconut treats.

I pressed the shreds into the rest of the with my hands, and they became the beautiful snowballs you see below, which look much nicer in person!

IMG_6293

And, since my hands were so coated with soap, I took the chance to give our bathroom sink a good scrubbing.  Now I have five cute snowballs and a very clean sink!  The whole project was made with materials I already had, so the cost was…

drumroll please…

$0!  Amazing for something both fun and functional!

Good luck with your Christmas crafts, and Happy Holidays!

*Update:  I’m not sure what exactly happened, or if I’m hallucinating, but I just saw this post on the #111 Clever Chicks Blog Hop at www.the-chicken-chick.com!  Please visit Kathy and her amazing blog (which happens to be my go-to website on all matters chicken) and say thank you for me!